For amigurumi, I usually don't use natural fibers, acrylic has so many benefits for making dolls like durability, washability, and shape resiliance that using natural fibers seemed like a waste of time and effort. But I recently came into a stash of Brown Sheep Lamb's Pride Bulky. It's an awesome yarn with a wool/mohair blend and I couldn't let it just sit on the shelf.
I had seen around the web some dolls that were brushed and thought I might give it a shot. Since I hadn't seen a tutorial for amigurumi specifically, my first attempt ended in me killing some doll eyes by scratching them silly…so I thought I might run you through the process so you can avoid some of the pitfalls.
Materials:
Any spun Natural fiber yarn (except cotton)
A dog slicker brush (mine has a soft brush on the flip side which I found came in handy at the end)

Close-up of what the bristles of the slicker brush look like: (click any picture for a larger version)

In this tutorial, my doll has a head and that's what I'm brushing up for you today. Make your piece until you only have a few round left to go. In my case, I stopped before I got to the decrease rounds.
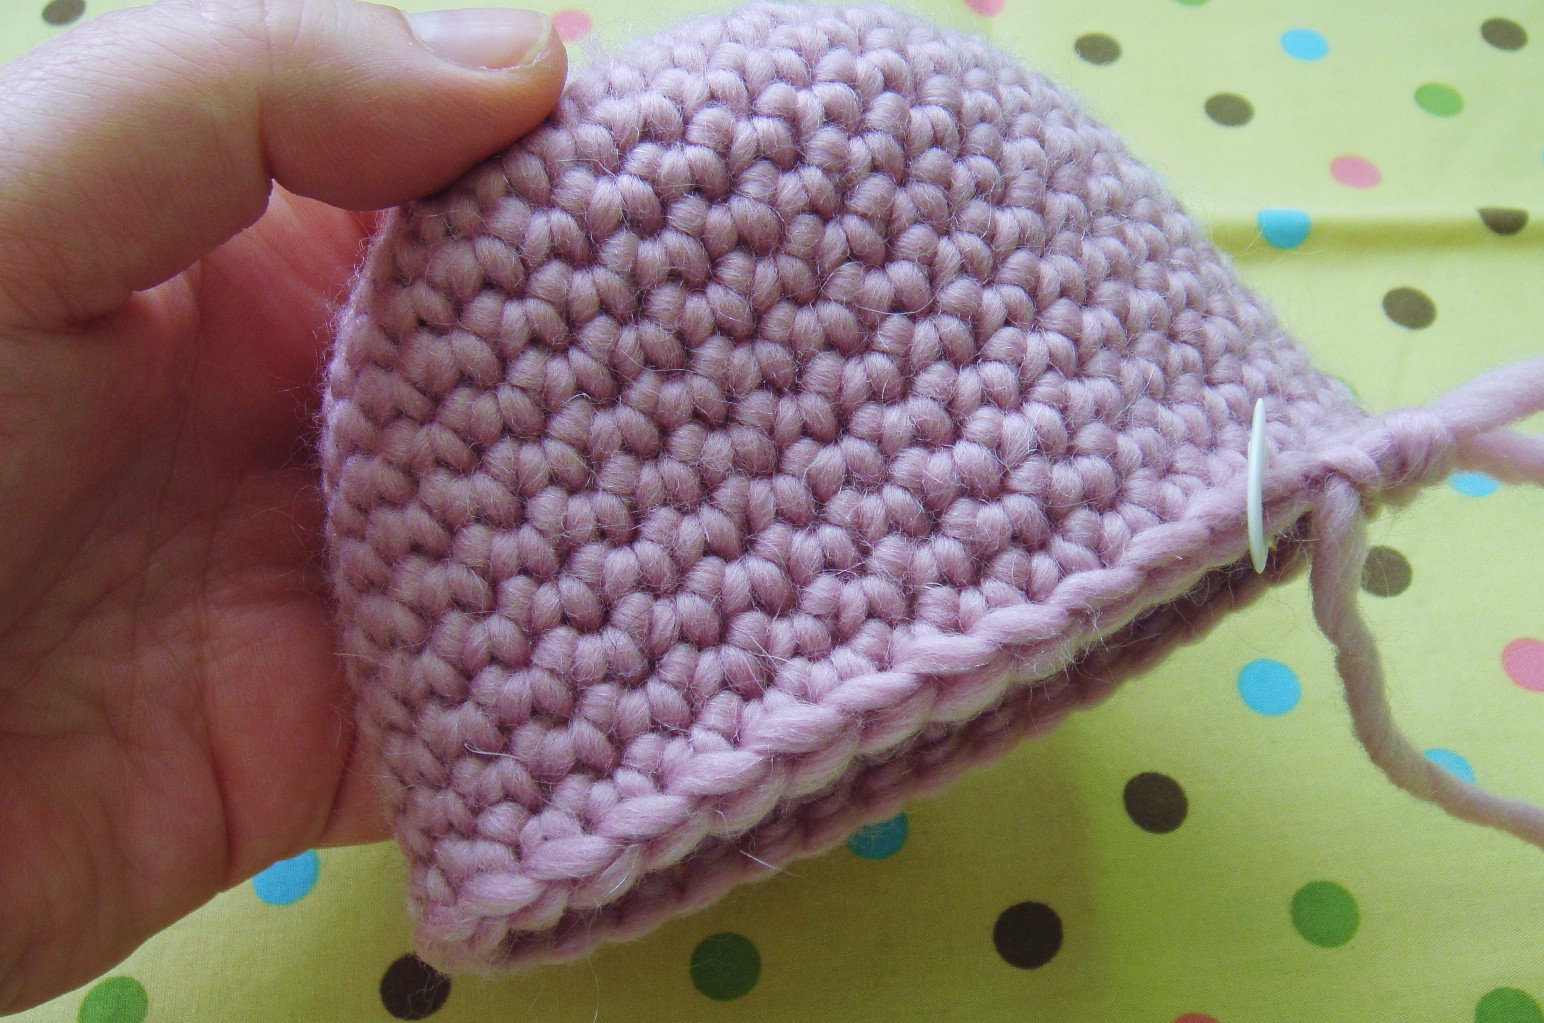
Take out your stitch marker and avoid brushing your working yarn. (ignore that I have forgotten to do this in the next photo…lol)

When you use a dog slicker, one direction with smooth and the other direction will have resistance as it is grabbing fibers. Brush in the direction with resistance (you should feel tugging) in short even strokes. Go in the same direction for several strokes and you will begin to see fur forming.

Now turn your work and with the same grabbing side, brush sideways over spot you have just brushed.


Doing this back and forth method will produce the fur much faster than if you worked in the same direction. Continue working back and forth until your get the desired results.

Once you have a result you are happy with, add your doll eyes. Finish crocheting your piece and stuff it. Then take your dog slicker and finish brushing the bottom of your piece being very careful to avoid the eyes.
If your dog slicker has a soft brush side (you can also use a soft bristle brush of your own) brush the fur in the direction you like until smoothed out.
Use this technique on all the parts of your doll individually and before assembly!
Here is what became of that head!


ACK, soooooooo cute!!!!
Ditto!
Thank you so much for this tutorial! I’ve been wanting to do something similar but had no idea what type of yarn to use, nor exactly how to approach brushing it. I’m super excited to give it a try!
So cute!!! and so much easier than trying to crochet with that furry yarn!
You are a GENIUS.
This is awesome!!! Will try it on your bunny free pattern… I want to brush the bunny up 🙂
YAY! Thanks so much for this. My cats will be glad to see the kitty slicker put to good use. I’ll be linking as well.
maybe you could put something on the eyes to protect them….tape or whatever. cute stuff. will give it a go!
This is great! Thank you for sharing!
Thanks for the tip. I will try that when crocheting ice cream cones.. have a great day,Amy
how fabulous is that trick?! thanks for sharing.
Thank you for this wonderful tutorial ❤ Thought I'd throw in my 2p, for those of you without pets and no access to brushes, a nail brush works wonders on acrylic. Hope this helps! xXx
Hi Roxycraft! Thanks for your great tutorial on brushed amigurumi. I used this technique to make a fuzzy little white bear, and soon I’ll be finishing up my Valentine teddy! Check out my blog post to see it (I also linked back to your page for this tutorial)!
http://allaboutami.tumblr.com/post/3219182655/fuzzywhitebear
What a great idea, and the finished doll looks so cute with that little punky hair do 🙂